5. Tapes should be in simple tension. (More on this later.)
6. Use the manufacturer's size chart to find your size. (Some brands run larger than others. )
With experience, you might find it best to deviate from these approximations. They merely provide a starting point.
Try for a firmness that is neither too tight nor too loose. Try for more than the firmness of your underwear's waistband, but maybe not as firm as belt. Too loose and the diaper will slip off and/or leak. Too tight and it might bite into your skin, and/or stretch, possibly tearing or ironically becoming too loose.
Tapes usually work best when in simple tension, pulling like a chain, as opposed to trying to apply a torque, like a wrench. This sets the height of the tapes at what we'll call their 'neutral position.' Above this position, the tapes will pull back downwards. Below this position, the tapes will pull back upwards. Imagine a pendulum, trying to swing back to its center.
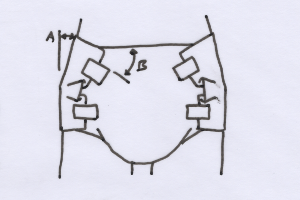
Assuming that the sides of your hips are roughly vertical, the lower tapes will be roughly horizontal. Assuming that the tops of your hips are diagonal at some angle (A), the upper tapes will slope downwards at some angle (B). On a paper doll, the angle of the tapes would be twice the angle of the hips. On people, it is often less (0 < B < 2A). Depending on the diaper and your hips, the upper tapes might actually be in line with the lower tapes.
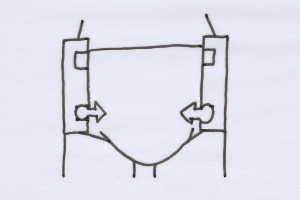
With the tapes closed, move the tapes up and down while pulling them around you. Feel how they pull towards their neutral position.
Note where on your hip both tapes should be. If these two positions aren't roughly symmetric, shift your body relative to the back of the diaper and try again. Next, you can focus on one tape, and then the others.
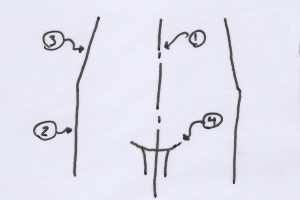
Left-handed ABDLs and right-handed caregivers changing someone else might wish to swap "right" and "left" in the following instructions.
To prevent fouling the adhesive with baby powder, body oils, etc., avoid touching the adhesive surfaces with your fingers, or to any surface other than the tapes final position on the front. Also avoid touching the final position on the front. Velcro tapes are much less sensitive to fouling by powders and oils.
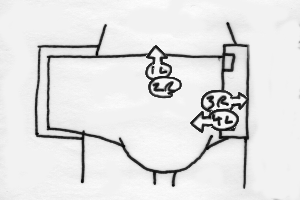
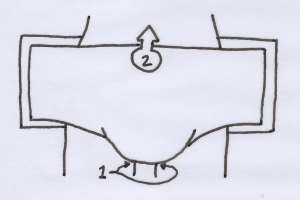
- 1L With your Left hand, pull upwards on the front of the diaper and center it.
- 2R With you right forearm, hold the front of the diaper centered. Continue until the first tape is placed.
- 3R With your Right hand, pull the front side tab taught.
- 4L With your Left hand, open the tape. Holding it by the end (avoiding touching the sticky tape), pull the tape and apply to the front.
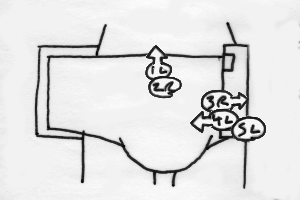
- 1L With your Left hand, pull upwards on the front of the diaper and center it.
- 2R With you right forearm, hold the front of the diaper centered. Continue until the first tape is placed.
- 3R With your Right hand, pull the front side tab taught.
- 4L With your Left hand, pull the rear side over the front. Leave the tape closed for now.
- 5L With your Left palm, press the front and read side tabs, holding them in place.
- 6 (not shown) with your Right hand and Left fingers, open the tape and apply.
Note some landmarks on the front, such as the edge of the padding, that you can use in the future to reproduce these positions next time. Also note refinements to these positions in the likely case that your first try isn't perfect.